Install Your Own Wrought Iron Driveway Gate: A Step-by-Step DIY Guide
Adding a wrought iron driveway gate is a great way to boost your home’s curb appeal and security. And the best part? You can install it yourself with a bit of planning, the right tools, and a little elbow grease.
At Fabricate My Gate, we offer durable, high-quality driveway gates designed for easy DIY installation. We’re here to walk you through every step so you can tackle this project with confidence—even if it’s your first time.
Step 1: Plan Your Gate Installation
Start by looking at your driveway:
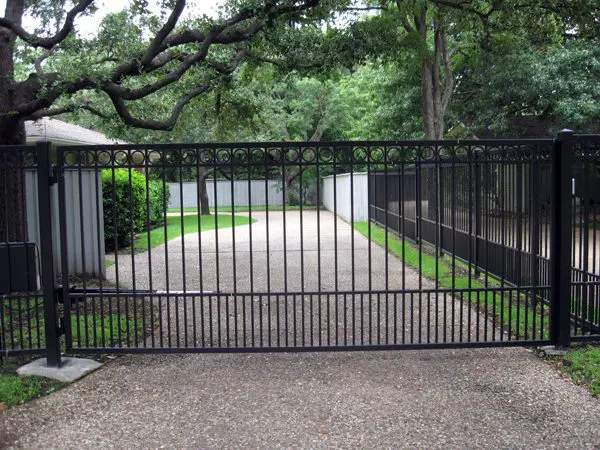
- Flat driveway? A swinging gate works best.
- On a slope or tight on space? Go with a sliding gate.
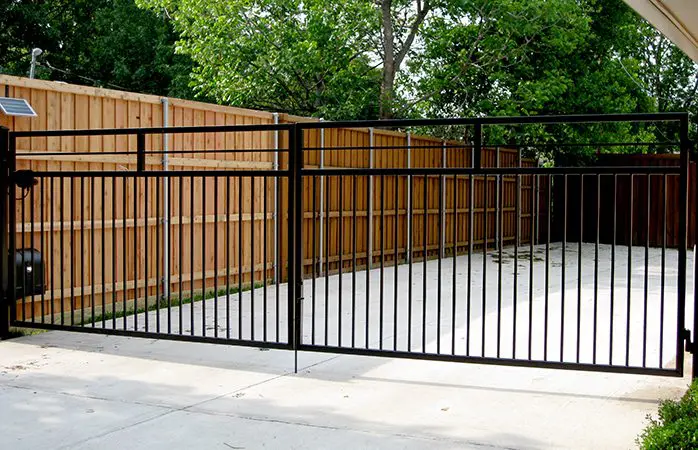
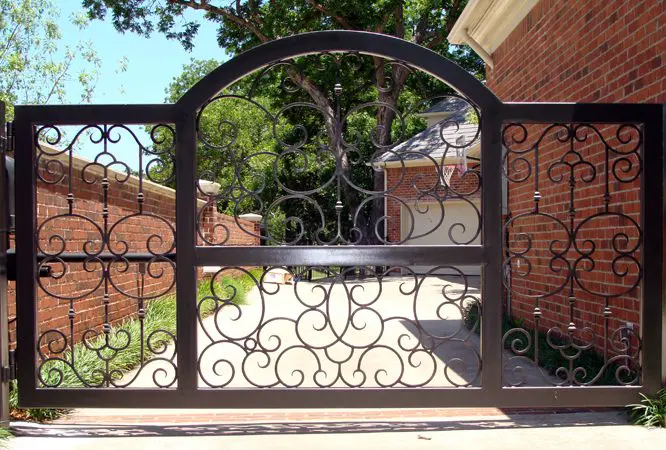
Measure the width and height of your driveway. This helps you pick a gate that fits perfectly and complements your home’s style. Wrought iron gates are a popular choice because they’re strong, stylish, and long-lasting.
Step 2: Gather Your Tools and Materials
Here’s what you’ll need:
- Measuring tape & level
- Post hole digger (or auger)
- Gravel
- Concrete mix
- Gate posts
- Gate kit (includes hinges and hardware)
- Drill, screwdriver, wrench set
- Safety gear (gloves, goggles, sturdy shoes)
Step 3: Install the Gate – One Step at a Time
- Mark the Post Locations
Begin by measuring the width of your driveway where the gate will be installed. Use marking paint, stakes, or string lines to indicate the exact placement for each gate post. These marks should be precisely aligned with one another to ensure your gate hangs evenly. Use a level or laser level to double-check that the marks are square and parallel with your driveway surface.
- Dig the Post Holes
Using a post hole digger or auger, carefully dig two holes at the marked spots. Each hole should be roughly one-third the total height of your gate post, plus an additional 6 inches to allow for a gravel base. For example, if your posts are 6 feet tall, your holes should be around 2 feet deep. Make sure the diameter of each hole is wide enough to accommodate both the post and the concrete needed to stabilize it.
- Prepare the Base for Drainage
Before placing the posts, pour approximately 6 inches of coarse gravel into the bottom of each hole. This gravel layer improves drainage and helps prevent water from pooling at the base of the posts, which can cause corrosion or frost heave over time.
- Set the Posts in Concrete
Position each gate post upright in the center of its hole, resting on top of the gravel base. Use a level to ensure the post is plumb (perfectly vertical) from all sides. Mix your concrete according to the manufacturer’s instructions, then slowly pour it around the post while keeping it in position. Fill the hole until the concrete is just below ground level. Check the alignment again, and then allow the concrete to cure fully—typically 24 to 48 hours depending on weather and product specifications.
- Attach the Gate to the Posts
Once the posts are firmly set and the concrete is fully cured, it’s time to hang the gate. Start by attaching the hinges to the gate panels. With a helper, hold the gate in position and fasten the hinge hardware to the posts, following the instructions included in your gate kit. Use a level to make sure the gate hangs evenly and that it swings or slides without rubbing against the ground or dragging. Adjust the hinges if needed for smooth operation.
- Install Gate Hardware and Final Touches
Finish your installation by adding any necessary hardware such as latches, locks, or decorative accents. Secure the latch mechanism so that the gate stays closed and aligns properly with the catch or lock plate. If you’ve chosen an automatic gate opener or keypad, follow the manufacturer’s installation guide or consult a licensed electrician if wiring is required.
Step 4: Stay Safe
- Wear gloves, goggles, and tough footwear.
- Call 811 before digging to check for buried utilities.
- Always follow tool instructions.
- Don’t do it alone—having a helper makes things easier and safer.
- If your gate uses electricity, hire a licensed electrician.
Step 5: Troubleshooting Tips
- Gate sagging? Check and tighten the hinges.
- Gate sticks? Look for obstructions or adjust the alignment.
- Post feels loose? Add more concrete or use a support brace.
You’ve Got This. We’ve Got Your Back.
With a little time and patience, you can install a beautiful wrought iron gate that adds value, style, and security to your home. And if you have questions? Our team at Fabricate My Gate is just a call or email away.